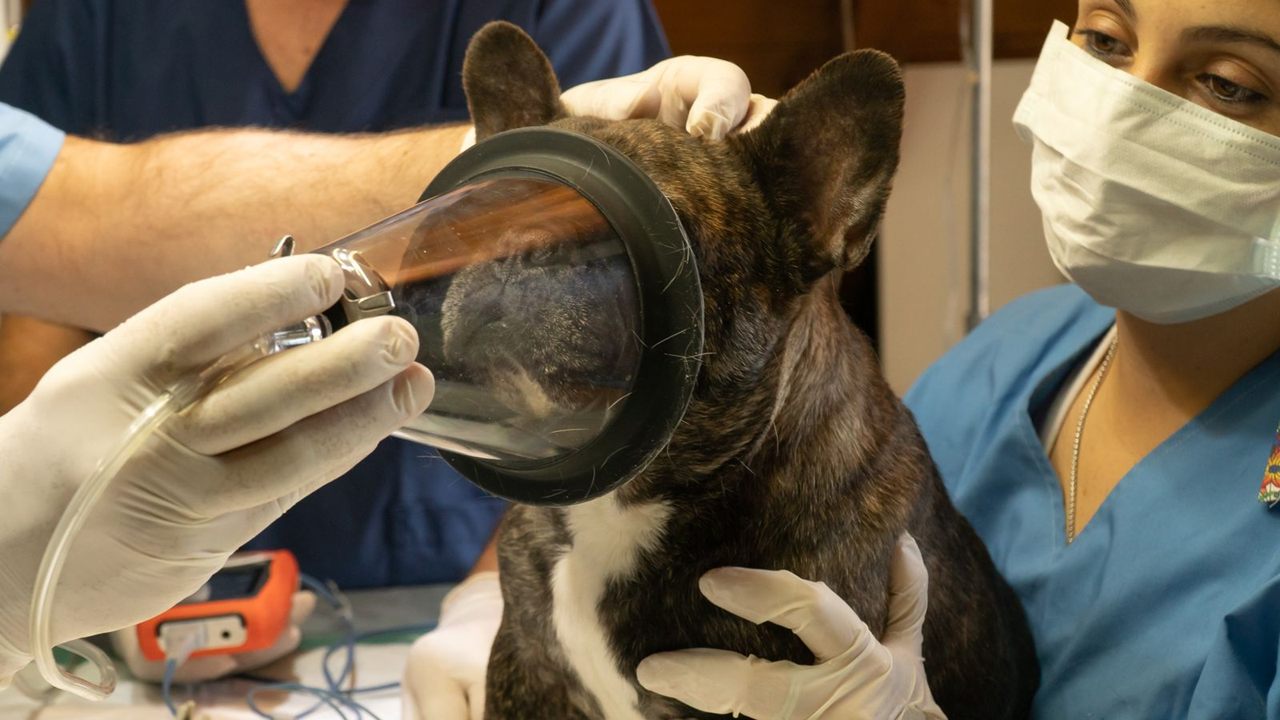
Knowing how to secure an endotracheal tube in veterinary patients is one of those skills everyone assumes they have, until a tube slides out during a flip or ends up past the carina. The tie is all that holds the airway where you put it.
This guide covers the general method for dogs and cats: why securing matters, the order of steps, the three tie positions and when to use each, cuff basics and the checks that catch problems early. Species detail, dental setups and tie choice each have their own guide, linked below.
Quick answer
- Confirm tracheal placement with capnography, visualization and bilateral breath sounds.
- Inflate the cuff until the leak just stops.
- Tie the tube behind the upper canines, around the mandible or behind the head, keeping the pilot line free.
- Check tube depth and tie tension, then re-check after every reposition.
Why securing the ET tube matters
An unsecured endotracheal tube (ET tube) moves every time the head, neck or breathing circuit moves. That movement causes four problems:
- Accidental extubation. The tube backs out during positioning, transport or a drape change, often unnoticed until the capnograph trace drops.
- Endobronchial migration. Neck flexion pushes the tip deeper. Past the carina, one lung is ventilated and oxygenation falls.
- Tracheal trauma. An inflated cuff that slides or rotates against the mucosa can abrade it, and twisting the patient while still attached to the circuit is a recognized cause of dorsal tracheal membrane tears, especially in cats.
- Constriction and kinking. CT studies show mispositioned and partly constricted tubes are common, and an over-tight tie can narrow a small tube.
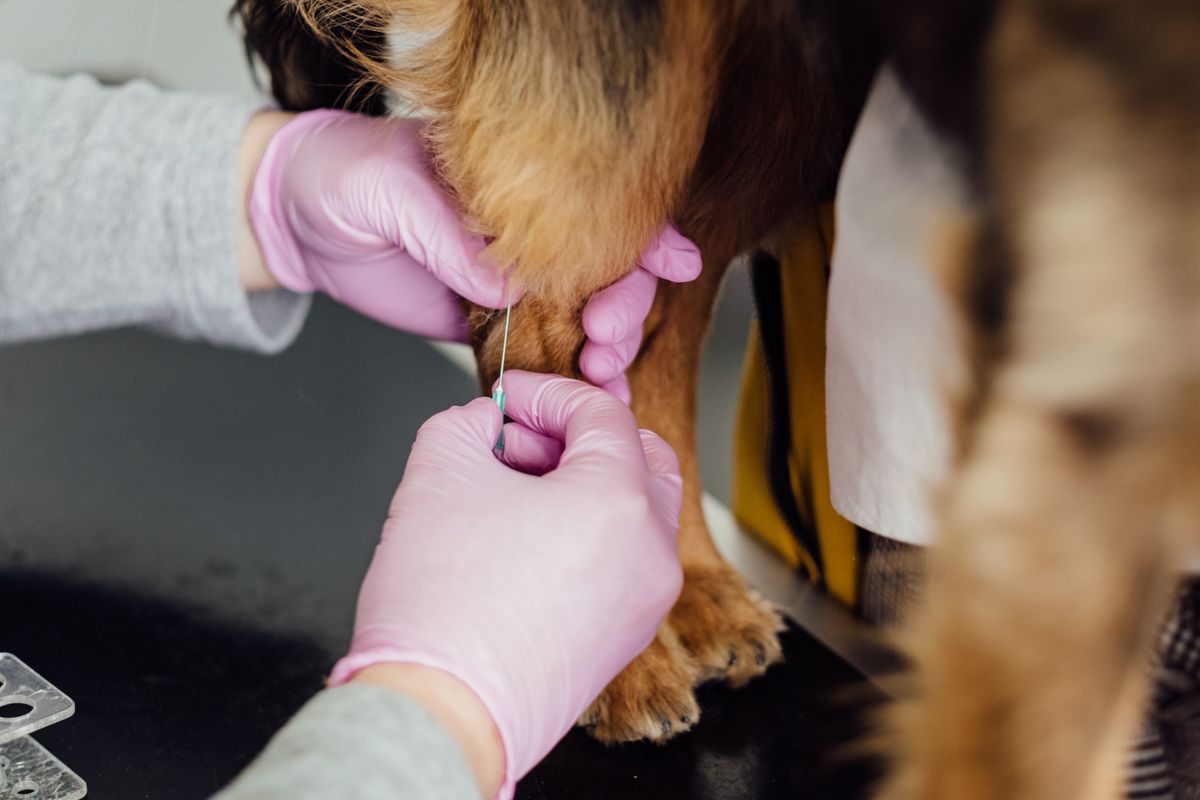
How to secure an endotracheal tube in veterinary patients: the sequence
The Merck Veterinary Manual's small animal CPR chapter puts it simply: once the airway is established, secure it by inflating the cuff and tying the tube in place, and confirm placement with auscultation, visualization, palpation and end-tidal CO2. The same logic applies to every routine anesthetic.
- Confirm placement. See the tube pass between the arytenoids, then look for a CO2 waveform, condensation in the tube and breath sounds on both sides of the chest.
- Inflate the cuff. Seal the airway before anything else moves the tube.
- Tie the tube. Anchor it at the incisors with the connector just outside the lips.
- Check. Depth, tie tension, pilot line and leak, then connect the circuit.
Some teaching sheets tie first and cuff second, and that works too. What matters is that both happen before the patient is moved. Cuff first in any patient at risk of regurgitation, and give oxygen before tying if the patient is desaturating.
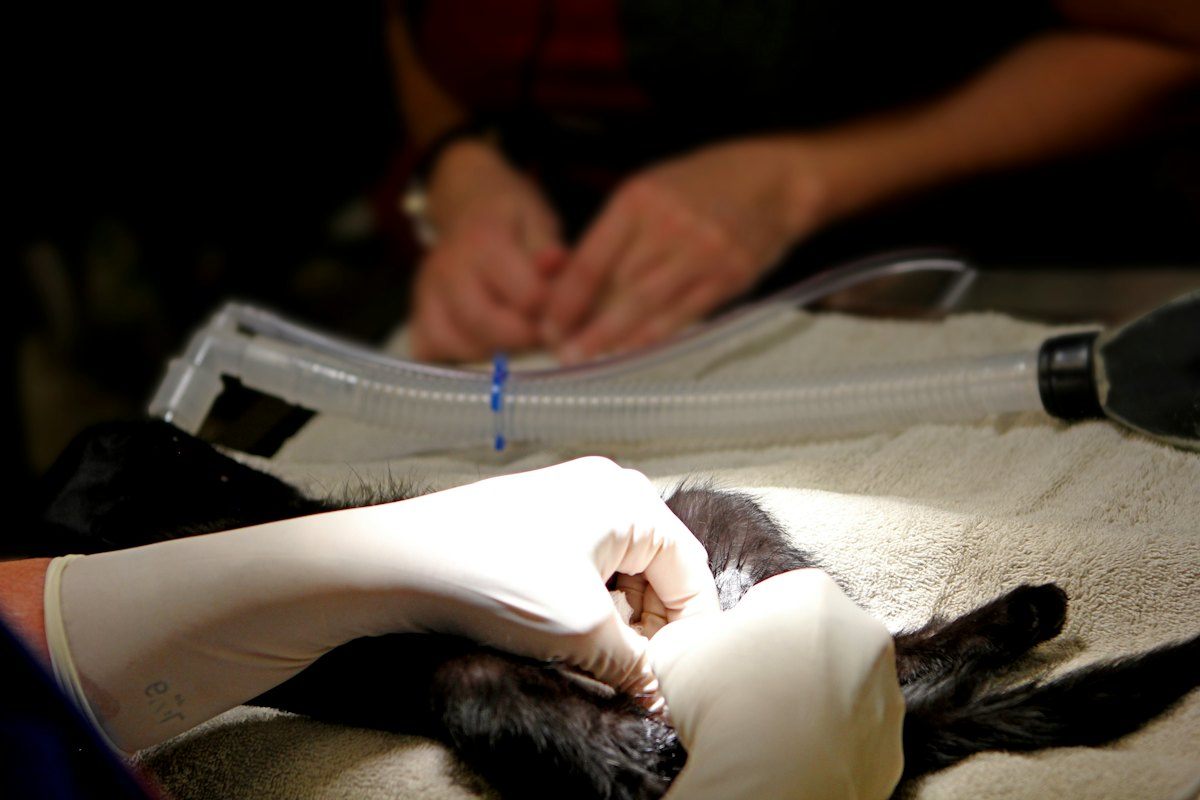
Cuff inflation basics
Inflate slowly while an assistant gives a breath from the reservoir bag. Stop as soon as you no longer hear air escaping around the tube at about 20 cm H2O airway pressure. Extra air only raises mucosal pressure.
- A cuff manometer is more reliable than pilot balloon feel. A target of 20 to 30 cm H2O is commonly cited.
- Cats need far less volume than people expect, and overinflation is a known cause of feline tracheal injury.
- Recheck cuff pressure if nitrous oxide is used or the procedure runs long.
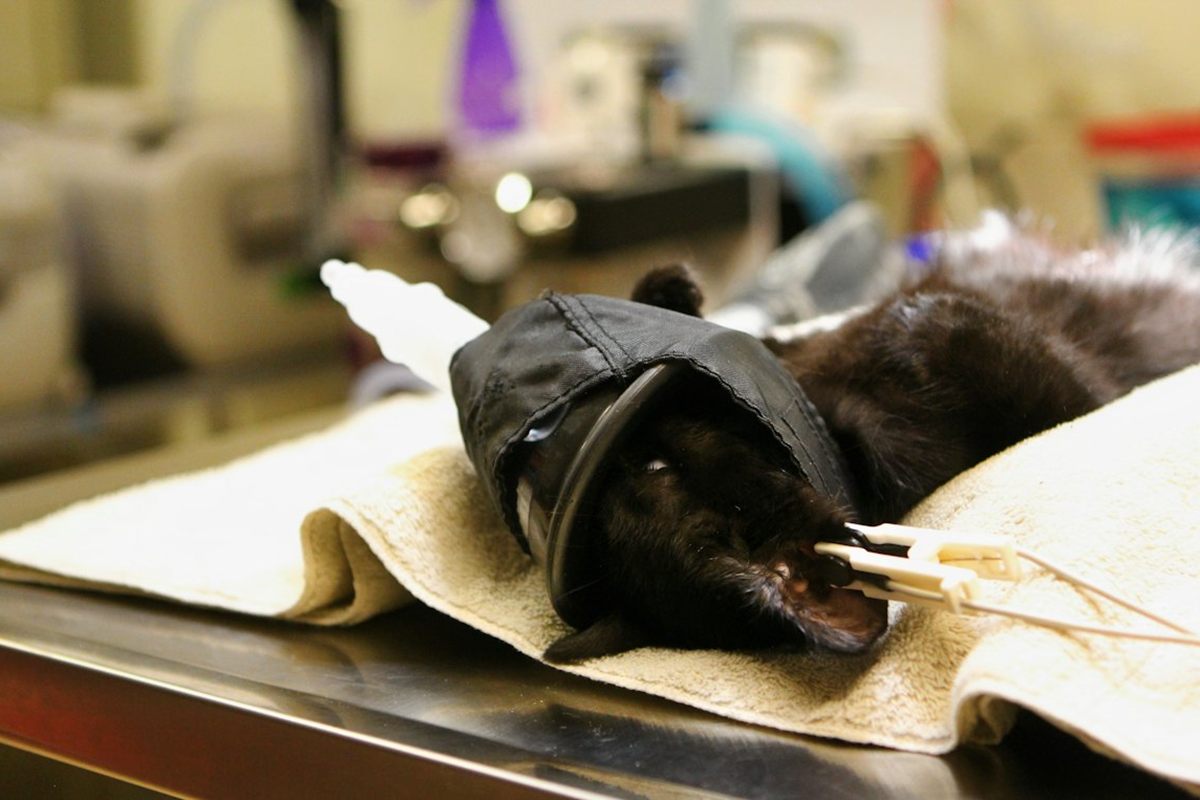
ET tube tie placement: the three positions
Whatever the material, tie it firmly around the tube just behind the connector, then anchor it to the patient in one of three places. Finish with a quick-release bow so you can extubate fast.
| Position | Best for | Watch out for |
|---|---|---|
| Behind the upper canines, over the maxilla | Most dogs with a defined muzzle, routine soft tissue and orthopedic surgery | Slips on short muzzles; gets in the way of maxillary dental work |
| Around the mandible, behind the lower canines | Procedures on the upper arcade or nose, some dental positions | Jaw movement moves the tube; blocks mandibular access |
| Behind the head, behind the ears | Cats, brachycephalic and toy breeds, full-mouth oral work | Must be snug, not tight, over the neck; check it has not slipped forward |
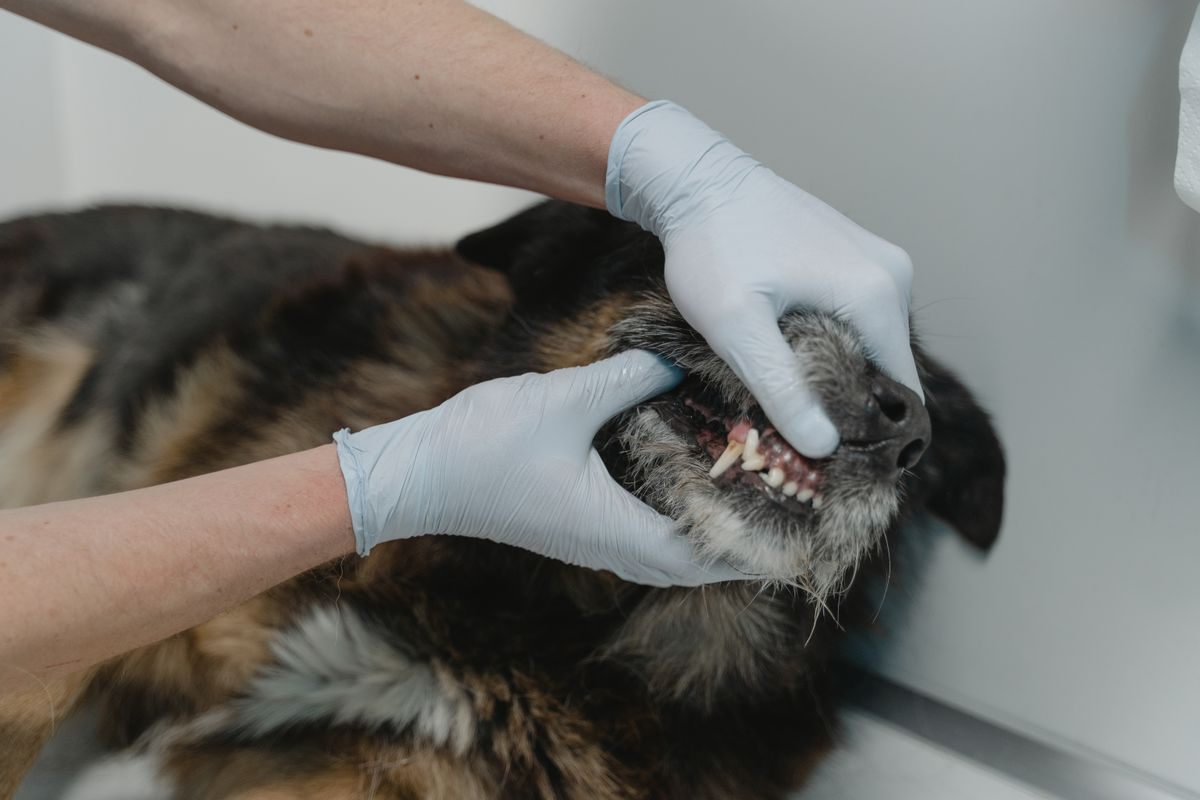
Checking position and tie tightness
Pre-measure the tube against the patient before induction: tip at the thoracic inlet or point of the shoulder, connector at the incisors. After tying, confirm the connector has not slid back into the mouth.
- Tension on the tube: tug gently. The tube should not slide inside the tie.
- Tension on the patient: you should get a finger under a behind-the-head tie.
- Lumen: an over-tight wrap can narrow small or soft tubes. Look inside the mouth, not just at the connector.
Keep the tie off the pilot balloon line
Never trap the pilot line under the tie. It can kink, give a false pilot balloon reading and, worst of all, get cut with the tie at extubation, deflating the cuff unexpectedly. Route the line clear and tie around the tube only.
Re-check after every reposition
Every flip, tilt or table move can shift the tube. Make this routine:
- Disconnect the circuit before turning the patient, then rotate the head and body together.
- Reconnect and confirm a capnograph trace and chest excursion.
- Re-check tube depth at the incisors, tie tension and cuff leak.
Dentals involve the most repositioning, which is why they get their own guide on securing the ET tube for veterinary dental procedures.
Securing ET tubes in dogs and cats: key differences
| Factor | Dogs | Cats |
|---|---|---|
| Usual tie position | Behind the upper canines; behind the head in brachycephalics | Behind the head |
| Main risk | Extubation and endobronchial migration with neck flexion | Tracheal tears from cuff overinflation and twisting |
| Cuff volume | Varies widely with tube size | Very small; use a manometer |
| Full guide | tying in an ET tube in a dog | securing an ET tube in a cat |
Choosing what to tie with
Roll gauze, tape, IV line, elastic bands and purpose-made ties all work in principle. The differences show up in wet mouths, hairy muzzles and clean-up. For the full comparison, see every ET tube tie option compared and the head-to-head on gauze vs purpose-made trach-tube ties.
Trinity Trach-Tube Ties were developed by Dr. Billy Davis DVM from more than 23 years in small animal and exotic practice. They are highly visible, do not cling to muzzle hair, do not soak up saliva or blood, and hold fast to the tube to help prevent the tracheal damage that can follow accidental tube movement. Each tie is used once and discarded.
FAQ
Should you inflate the cuff before or after tying the ET tube?
Either order works if both are done before the patient moves. Cuff first when there is any regurgitation risk, and oxygenate first if the patient is desaturating.
How tight should an ET tube tie be?
Tight enough that the tube cannot slide inside the tie, but not so tight that it narrows the lumen. A behind-the-head tie should allow a finger underneath and finish in a quick-release bow.
Where should the tie go on a brachycephalic dog?
Behind the head. A short muzzle gives a canine tie little to hold, so it tends to slip forward.
Do you need to disconnect the circuit before turning an intubated patient?
Yes. Turning while attached can twist the inflated cuff inside the trachea. Disconnect, turn head and body together, reconnect, then re-check the tube.
Securing the tube takes under a minute and protects the rest of the anesthetic. To stock up, see our disposable veterinary ET tube ties and the bulk pricing and online ordering page, browse all our guides and comparisons, or contact us with questions.